DIY Toddler Graphic Concert Birthday T-shirt | Birthday Graphic Tee
- Cass
- Aug 14, 2023
- 2 min read

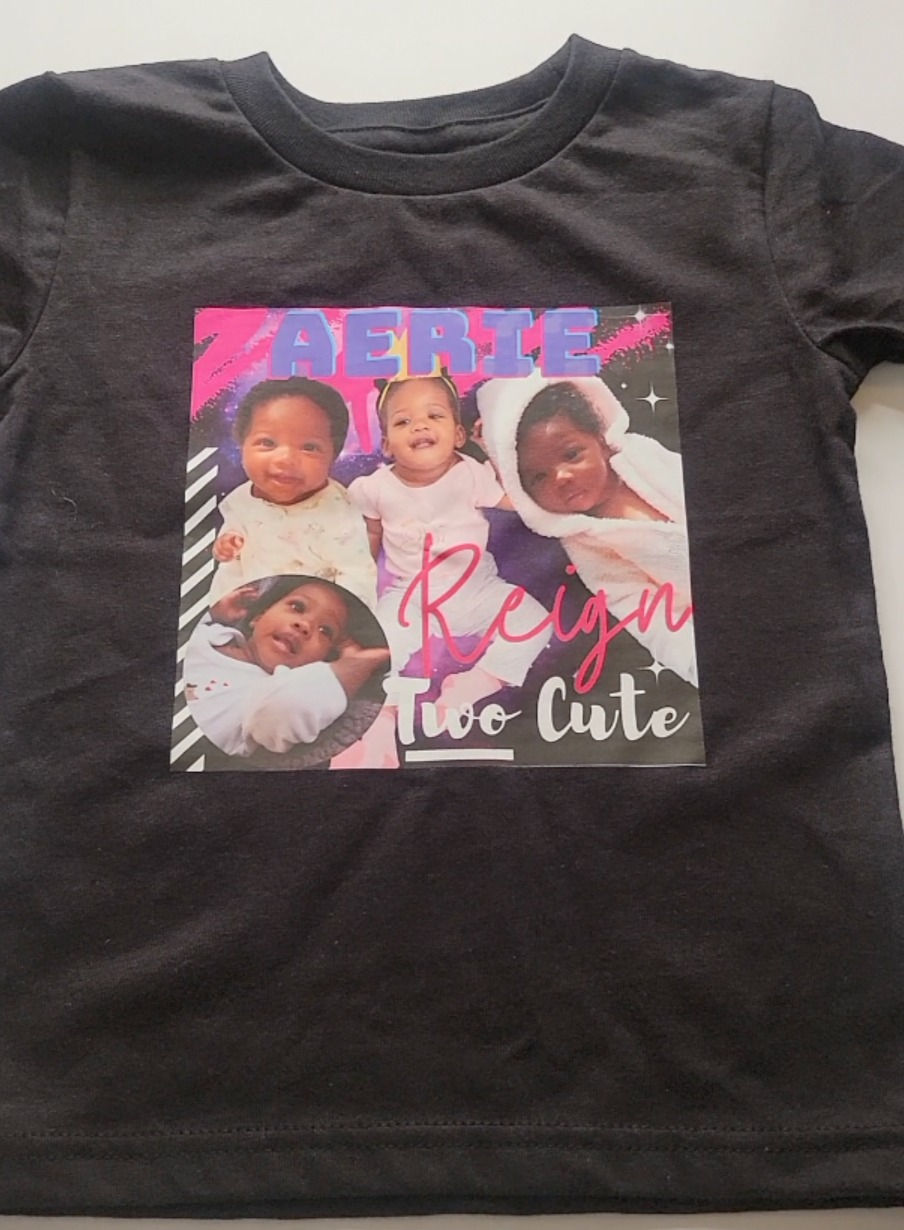
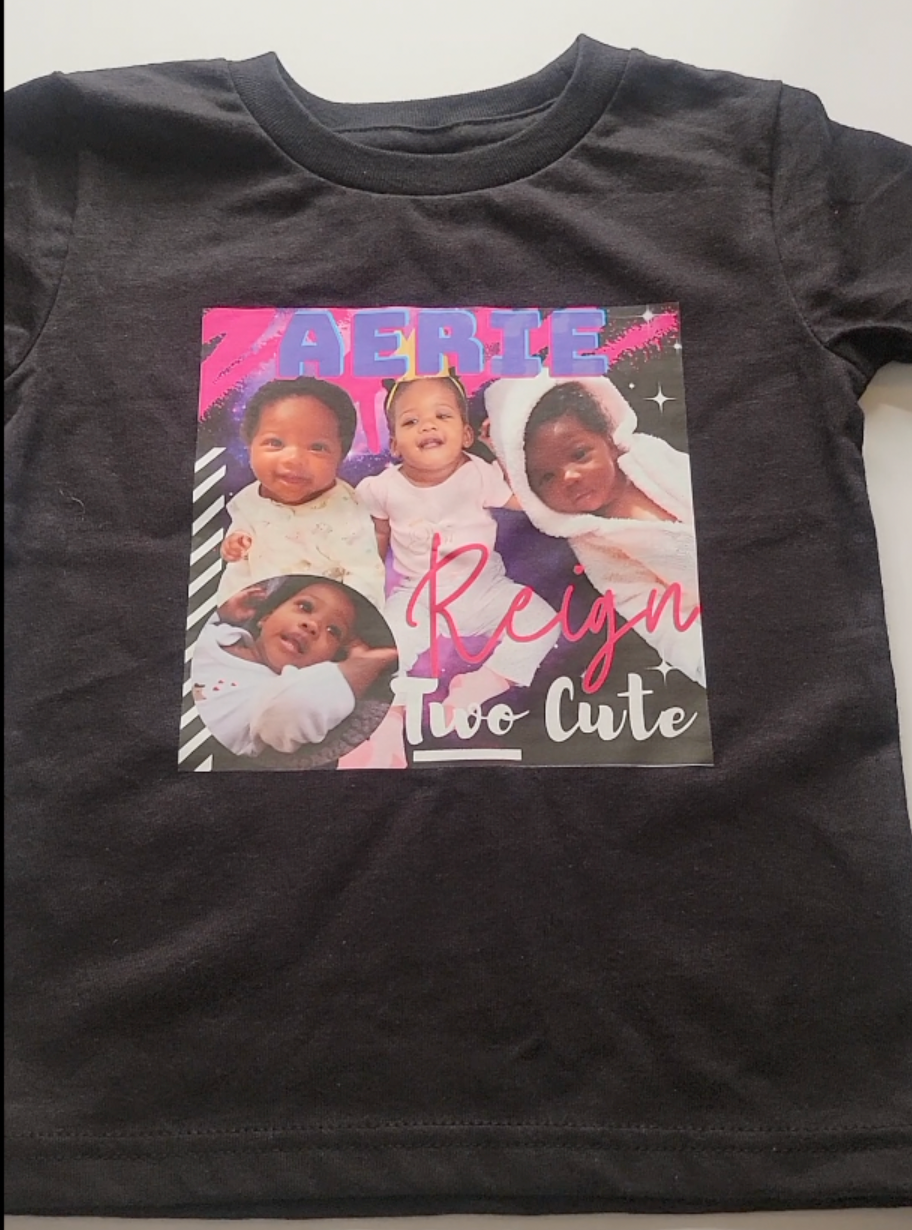
I am a big fan of graphic concert t-shirts. Graphic concert or band t-shirts are usually print filled shirts with celebrity photos on the front of the shirt. Historically you would get these graphic tee's from a concert. Now you can get these graphic tees at most popular retail clothing stores. I have a lot of these styles of t-shirts filled in my closet. I thought it would be super cute to recreate this type of shirt for my daughter's second birthday. I compiled a selection of some of her baby pictures and arranged them in Canva design tool. See the steps that I followed to create this trendsetting look!
Materials:
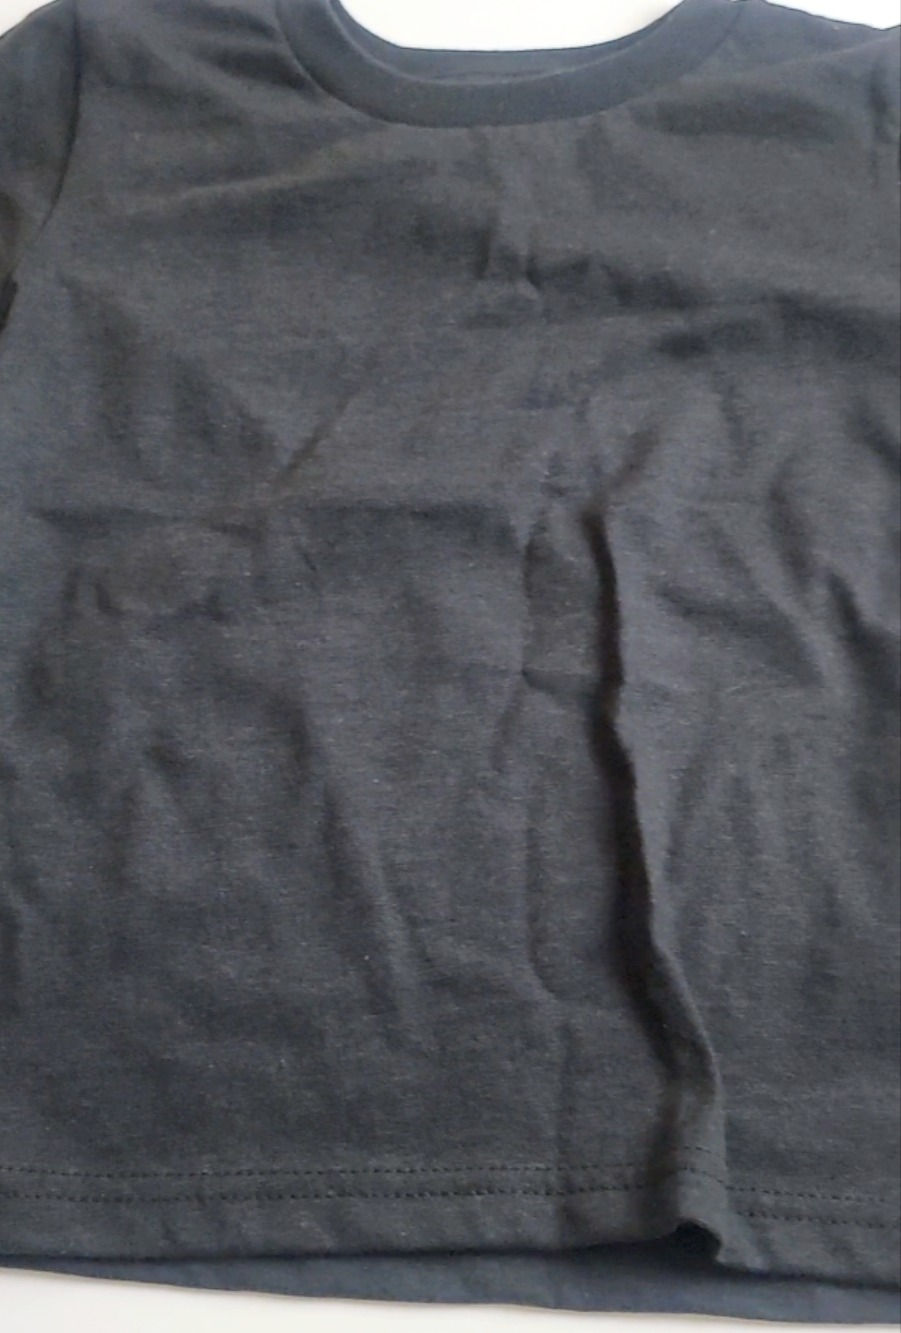
Blank T-shirt
Dark Iron On Transfer Paper
Iron or Heat Press
Cricut (Optional)

Step 1: Upload the photos that you want to use for the shirt into Canva design tool.
Step 2: Measure the space on the front of the shirt where you would like to have the image. Use those dimensions to start your design.
Step 3: Arrange the photos, add text and other design elements to the image.
Step 4: Use your Cricut and pull up Design Space.
Step 5: Print then cut the image and follow the process for sending the image to ink jet printer.
Step 6: Grab the image from the printer and load it into the Cricut to cut. Optionally: You can avoid using the Cricut and cut the border of the image with scissors or another cutting tool.

Step 7: Place a t-shirt front side up and iron on the image based on transfer paper instructions.
That's it! This should result in a super stylish birthday t-shirt for your little one to sport for their birthday. I'm probably going to make my own version for myself to wear during my birthday. I love how this looks! This personalized concert graphic tee would be cute to pair with a tutu, leggings or jeans. What do you think? Watch the short before and after of this DIY on Facebook!

Check out some more recent DIY's here on the blog!
This post may contain affiliate links

Comments